A soldering iron is an essential tool for anyone working with electronics, jewelry, or metalwork. From repairing circuit boards to creating DIY projects, the soldering iron is a reliable companion that allows precise joining of metals using heat and solder. Whether you are a hobbyist, a student, or a professional, understanding the proper use, types, and safety measures of a soldering iron and is crucial for achieving the best results.
In this comprehensive guide, we will explore everything you need to know about soldering irons, including how they work, their types, techniques, safety tips, maintenance, and applications.
What is a Soldering Iron?
A soldering iron and is a hand tool that heats up to melt solder, allowing it to flow into the joint between two workpieces. Soldering is commonly used in electronics assembly, jewelry making, and metal repair. The tool consists of a handle, heating element, and a metal tip, which transfers heat to the surface being soldered.
Components of a Soldering Iron
- Handle: Designed for comfort and insulation from heat.
- Heating Element: Converts electrical energy into heat.
- Tip: The metal part that contacts the workpiece; comes in different shapes depending on the application.
- Power Source: Can be electric, battery-operated, or gas-powered.
The effectiveness of a soldering iron and depends largely on its tip, wattage, and temperature control.
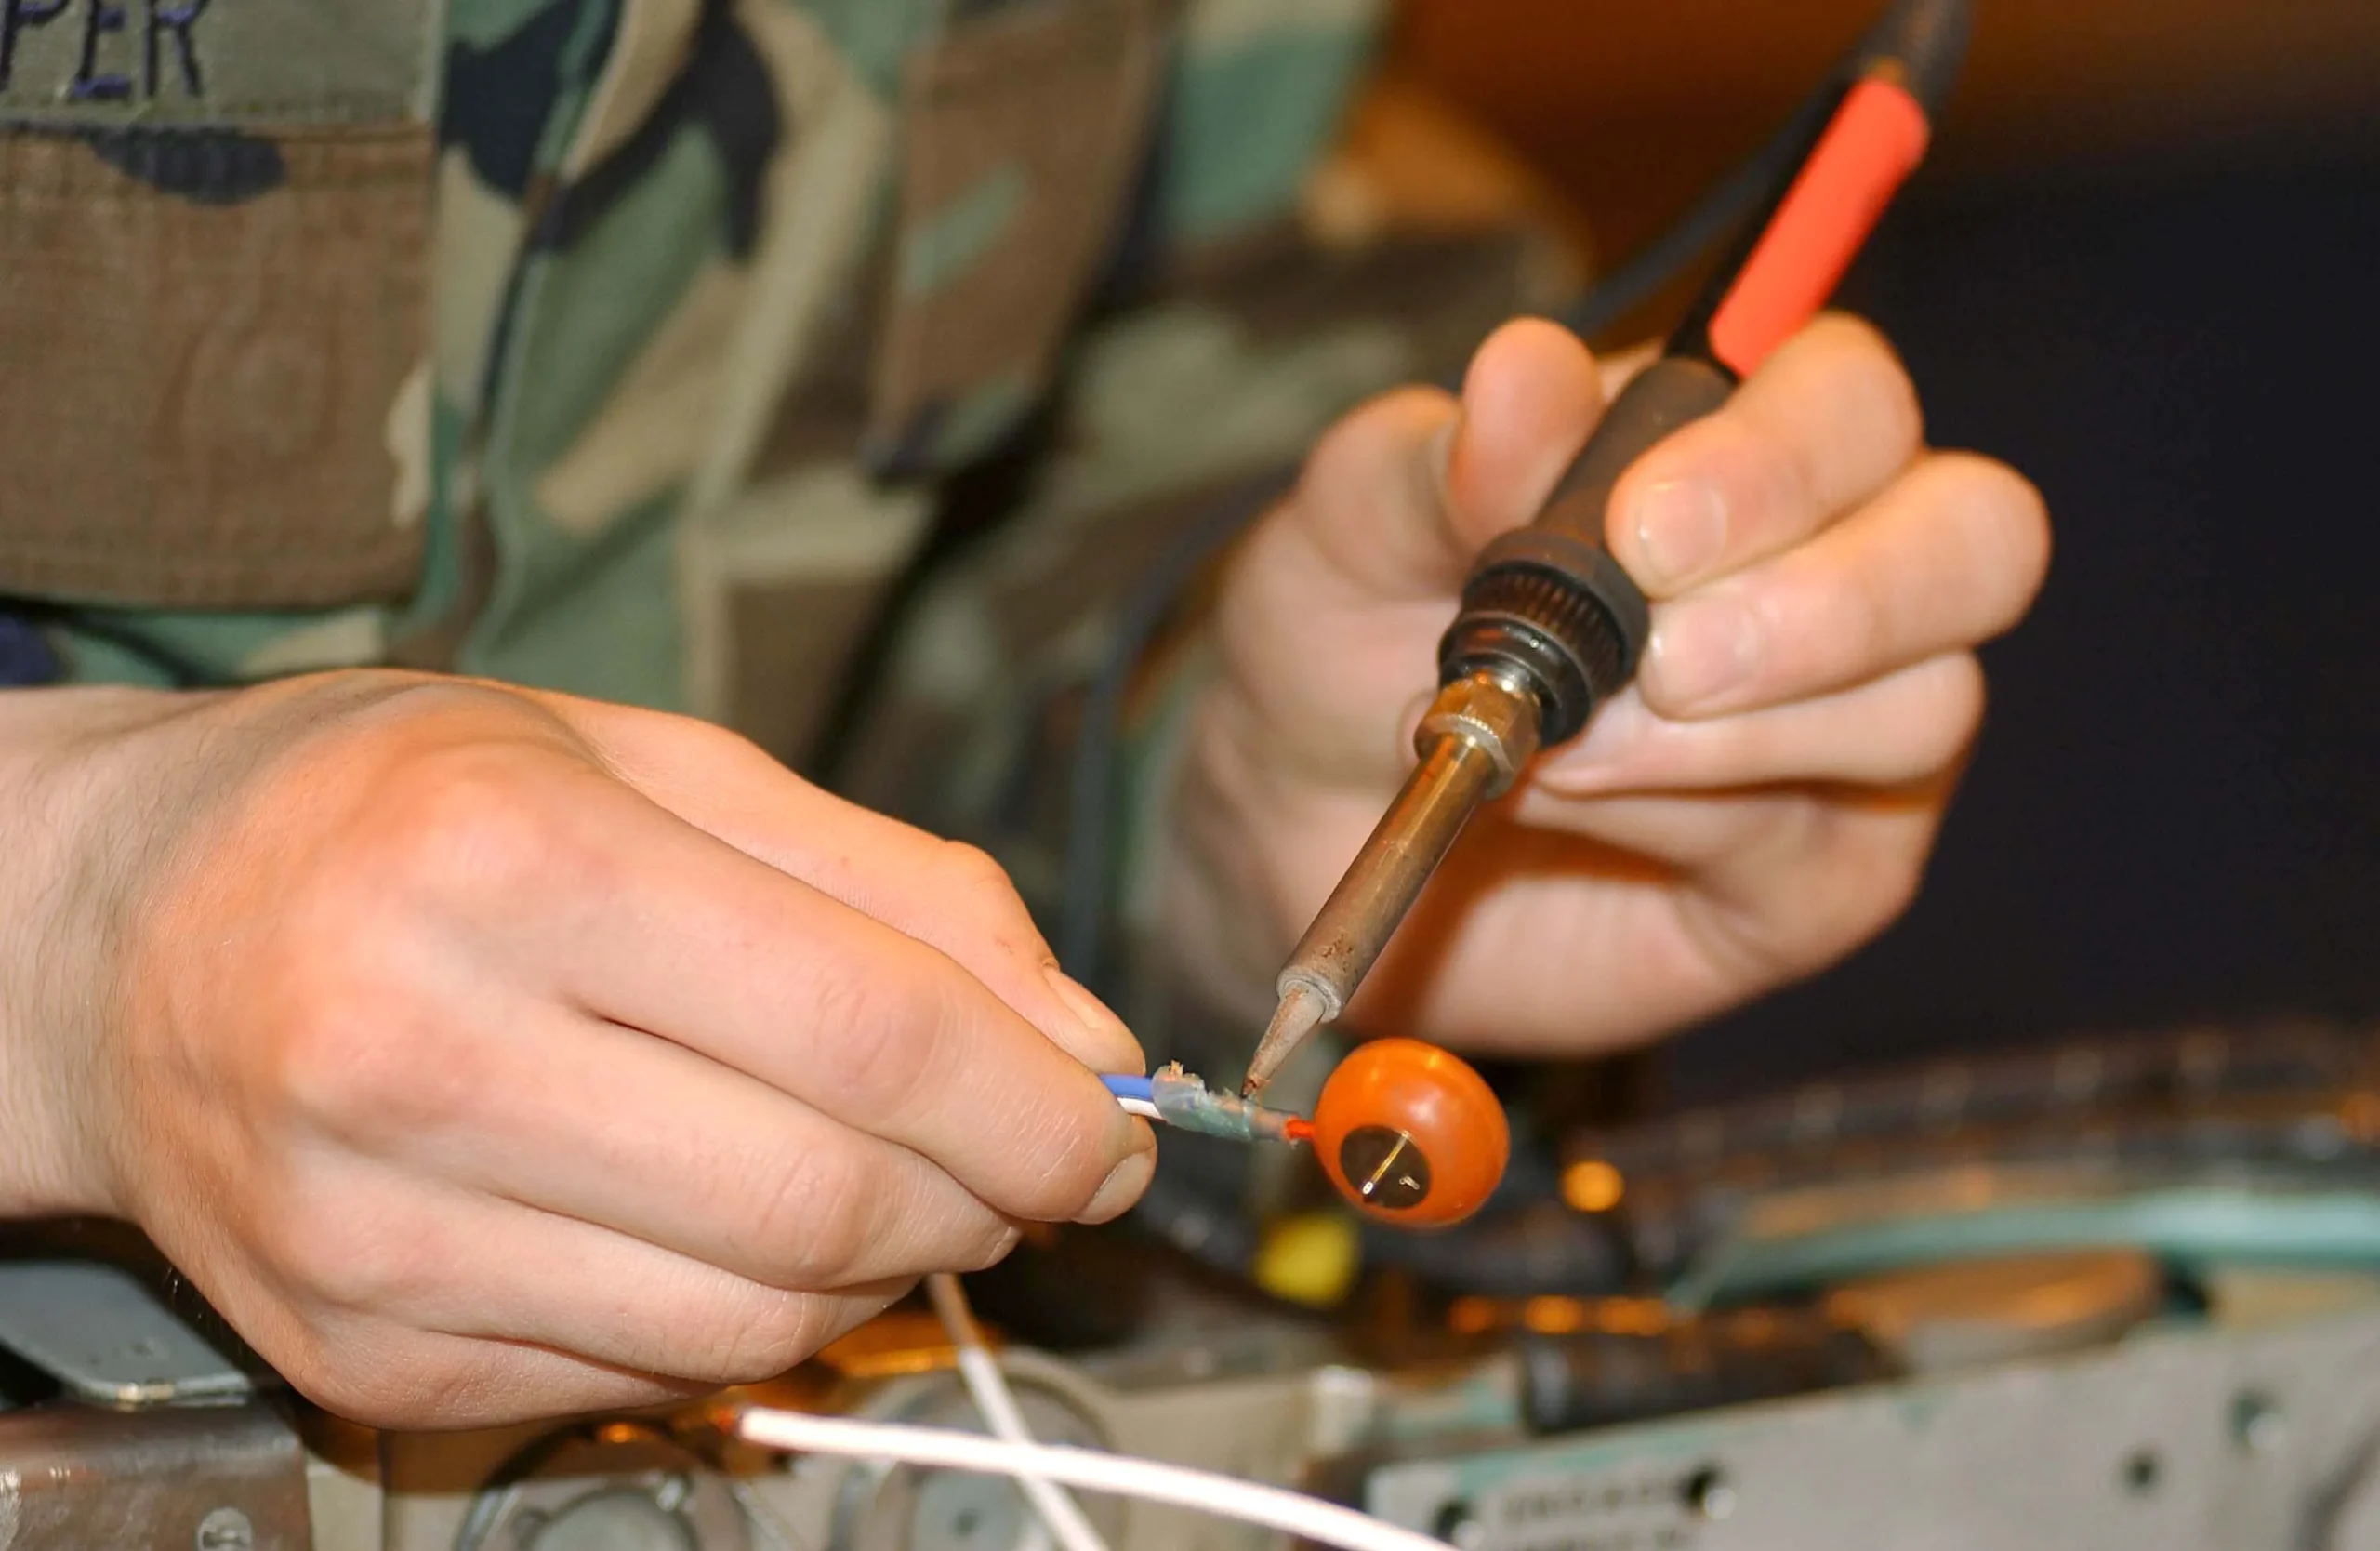
How Does a Soldering Iron Work?
The operation of a soldering iron and is relatively simple but requires proper technique. When plugged in and turned on, the heating element inside the iron warms the metal tip. This tip is then applied to the workpieces where the solder will flow.
Steps in Using a Soldering Iron:
- Heat the soldering iron and wait until it reaches the desired temperature.
- Clean the tip to remove oxidation or residues.
- Apply the heated tip to the joint to transfer heat.
- Touch solder to the heated area, allowing it to melt and fill the joint.
- Remove the solder, then the soldering iron, and let the joint cool.
Proper heat transfer is key to creating strong, reliable joints without damaging components.
Types of Soldering Irons
There are several types of soldering irons available, each suited for specific tasks. Understanding their differences can help you select the best soldering iron for your needs.
1. Standard Electric Soldering Iron and
- Most common type for electronics and DIY projects.
- Simple design, usually 20–60 watts.
- Suitable for general-purpose soldering.
2. Temperature-Controlled Soldering Iron and
- Allows precise temperature adjustment.
- Ideal for delicate components like circuit boards.
- Prevents overheating, reducing damage to sensitive electronics.
3. Cordless or Battery-Powered Soldering Iron and
- Portable and convenient for fieldwork.
- Usually lower wattage; suitable for light-duty soldering.
- Works well when electricity is unavailable.
4. Butane or Gas Soldering Iron and
- Uses gas fuel instead of electricity.
- Can reach very high temperatures quickly.
- Useful for outdoor work or repairs on metals other than electronics.
5. Soldering Station
- Advanced setup with a base unit controlling temperature.
- Includes digital displays and adjustable settings.
- Preferred by professionals and hobbyists who require precision and versatility.
Soldering Iron Tips: Shapes and Uses
The tip of a soldering iron is critical because it transfers heat to the joint. Tips come in various shapes and sizes:
- Conical Tip: Good for precision work on small components.
- Chisel Tip: Wide and flat, suitable for larger connections.
- Bevel Tip: Ideal for drag soldering and spreading solder.
- Knife Tip: Used for cutting and soldering simultaneously.
Choosing the right tip for the job ensures efficient heat transfer and clean solder joints.
Choosing the Right Soldering Iron and
When selecting a soldering iron, consider the following factors:
- Wattage: Higher wattage heats faster but may risk damaging delicate components. 20–60W is ideal for electronics.
- Temperature Control: Prevents overheating and allows use with sensitive electronics.
- Ergonomics: Comfortable handle reduces hand fatigue during prolonged work.
- Tip Variety: Interchangeable tips increase versatility for different projects.
- Power Source: Consider electricity availability and portability requirements.
How to Use a Soldering Iron Safely and
Safety is crucial when working with high-temperature tools like a soldering iron. Follow these tips to avoid accidents:
- Work in a well-ventilated area to avoid inhaling fumes.
- Wear heat-resistant gloves to prevent burns.
- Use a soldering stand to safely place the iron when not in use.
- Avoid touching the tip, even after turning off the device; it remains hot.
- Keep flammable materials away from the work area.
Proper safety practices ensure a safe and efficient soldering experience.
Tips for Effective Soldering
- Clean the Tip: Regularly clean the tip using a wet sponge or brass wire cleaner.
- Tin the Tip: Apply a thin layer of solder to the tip before use for better heat transfer.
- Use the Right Solder: Lead-free solder is safer and environmentally friendly.
- Apply Heat First: Heat the joint, not the solder directly, to ensure proper bonding.
- Avoid Excess Solder: Too much solder can cause short circuits or messy joints.
Common Applications of a Soldering Iron
A soldering iron is versatile and used in various fields:
1. Electronics Repair and Assembly
- Joining wires, components, and circuit boards.
- Repairing broken electronics like smartphones, laptops, and TVs.
2. Jewelry Making
- Joining metal pieces with precision.
- Ideal for delicate, artistic projects.
3. Plumbing and Metalwork
- Repairing small metal pipes or brass fittings.
- Used in hobby metalworking projects.
4. DIY Projects and Hobbies
- Crafting models, drones, robots, and other electronics projects.
- Popular among students and hobbyists learning electronics.
Maintenance of Your Soldering Iron and
Proper maintenance extends the life of your soldering iron:
- Clean the tip after each use to prevent oxidation.
- Store in a cool, dry place to avoid rust or damage.
- Replace worn or damaged tips regularly.
- Check the heating element periodically for proper function.
Regular care ensures consistent performance and safety.
Troubleshooting Common Issues
Even the best soldering irons can face problems. Here’s how to troubleshoot:
1. Iron Not Heating
- Check the power supply and cord.
- Ensure the heating element is functioning; replace if necessary.
2. Poor Solder Flow
- Clean or replace the tip.
- Use fresh, high-quality solder.
- Ensure the tip is properly tinned.
3. Burned or Oxidized Tips
- Regularly clean with a wet sponge or brass wire.
- Avoid leaving the iron on at high temperature for long periods.
Advanced Tips for Professional Soldering
- Use flux: Enhances solder flow and prevents oxidation.
- Preheat components: Prevents thermal shock to sensitive parts.
- Practice steady hand technique: Ensures precise and neat joints.
- Use magnification: Helpful for tiny electronic components.
Professional techniques improve durability and appearance of solder joints.
Conclusion:
Whether you are repairing electronics, creating jewelry, or working on DIY projects, a soldering iron and is an indispensable tool. Understanding its types, techniques, safety measures, and maintenance ensures efficient and high-quality work.
By investing in the right soldering iron and learning proper usage, both beginners and professionals can enjoy precise, clean, and reliable soldering for years to come.